Customers and prices are probably one the most sensitive aspects for store admin to manage – if you make a mistake with a customer, he or she will hardly come back to your s, and an incorrectly set price can result in substantial losses. Therefore, these aspects must be approached with great care, consideration, and knowledge.
How to manage Customers and Customer Groups in PrestaShop 1.7.5.0
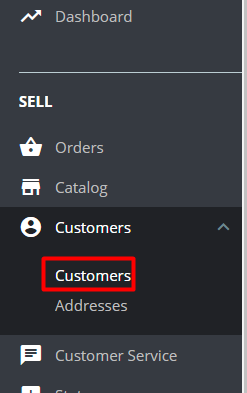
To create a new customer, first go Sell section -> Customers -> Customers.
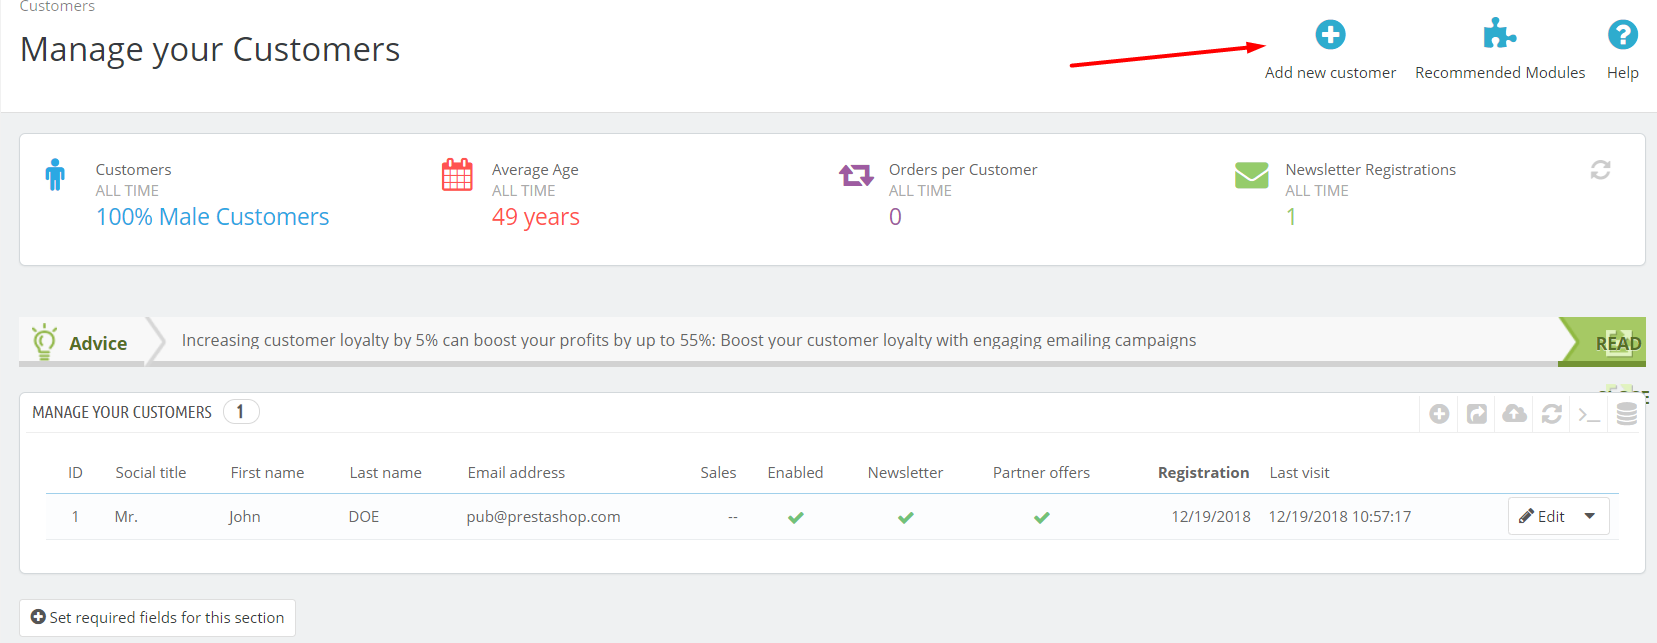
You’ll get to the following page with the list of customers already existing in your online shop back office. Click Add new customer in the upper right corner.
Fill in the necessary general information:
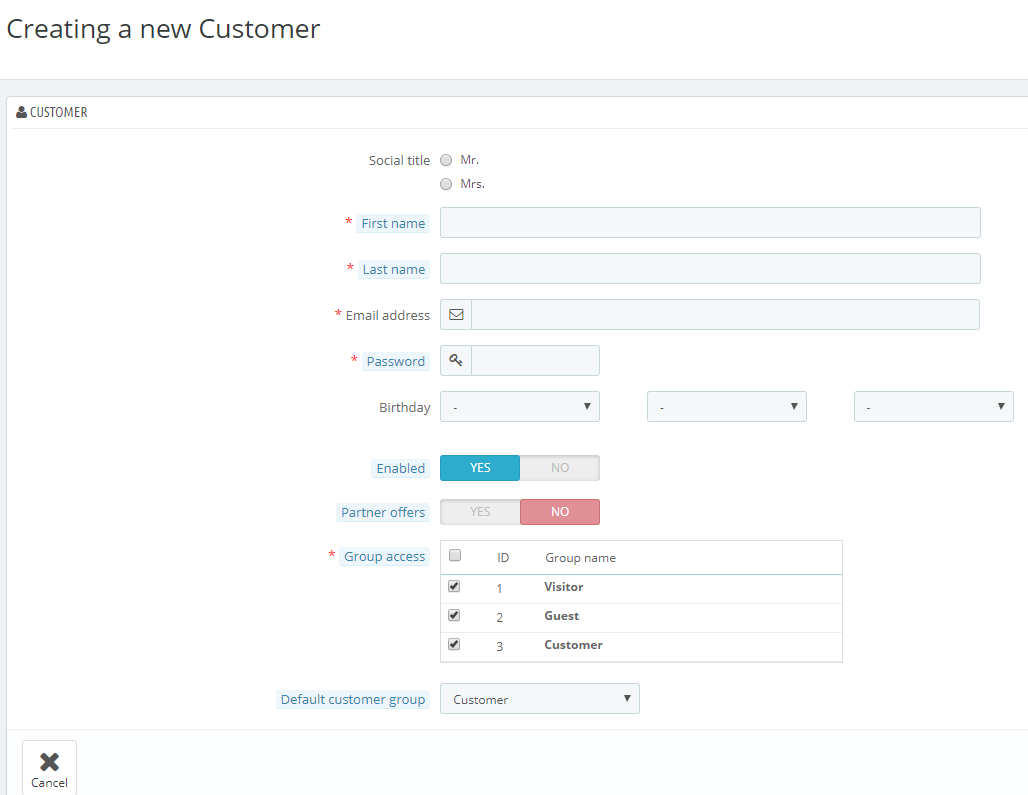
- Social status;
- First and Last name;
- Email address;
- Password;
- Birthday date;
- Enable – you can always enable or disable the user you’ve created;
- Partner offers – if enabled, the customer will receive your ads via email;
- Group access – tick the boxes of the groups you want to apply to this customer;
- Default customer group – the customer will receive sales and special offers according to the group he/she is assigned.
Click Save.
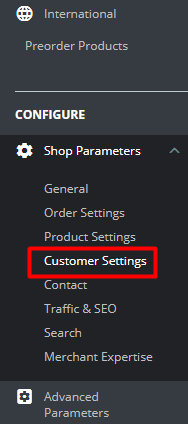
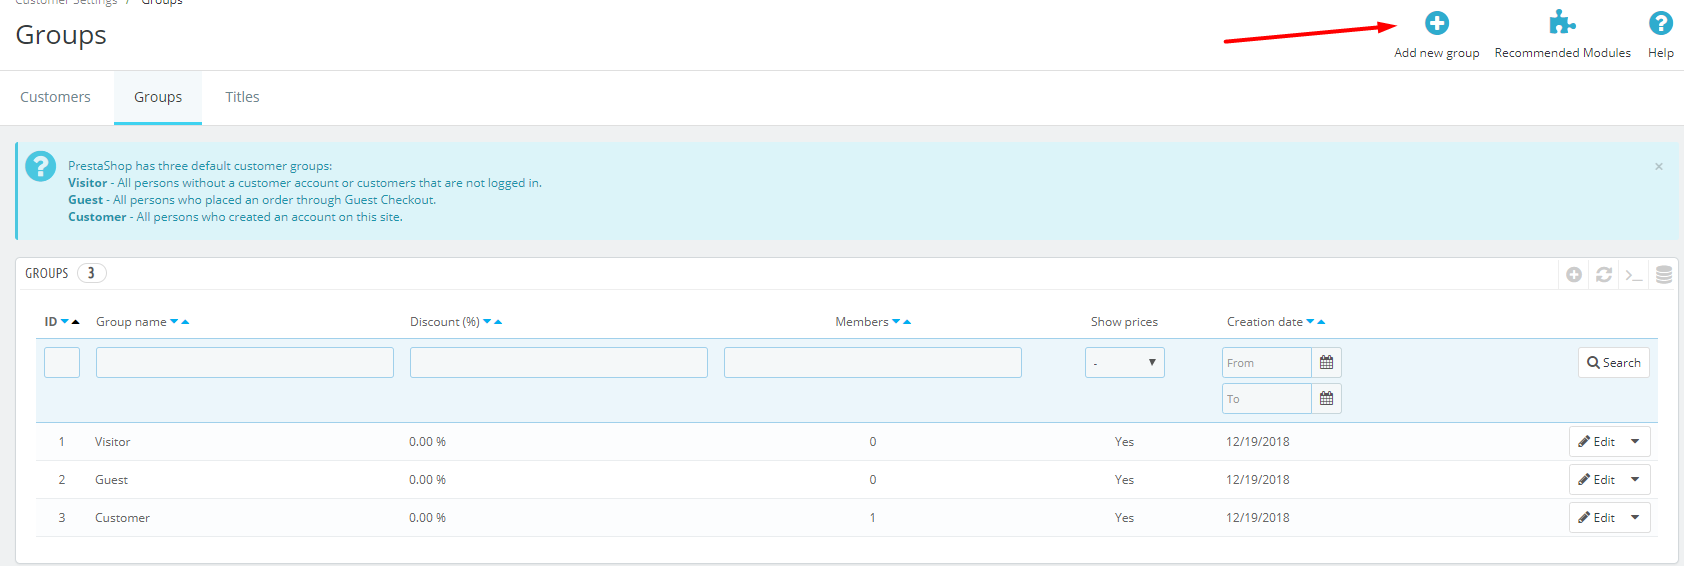
If the three default customer groups are not enough for you, you can always create those of your own. To do this, go to Shop Parameters -> Customer Settings and navigate to Groups tab.
In the upper right corner find the Add new group button and click it.
Fill in the group Name, Discount percentage, Price display method (tax included or excluded) and enable or disable the Show prices button.
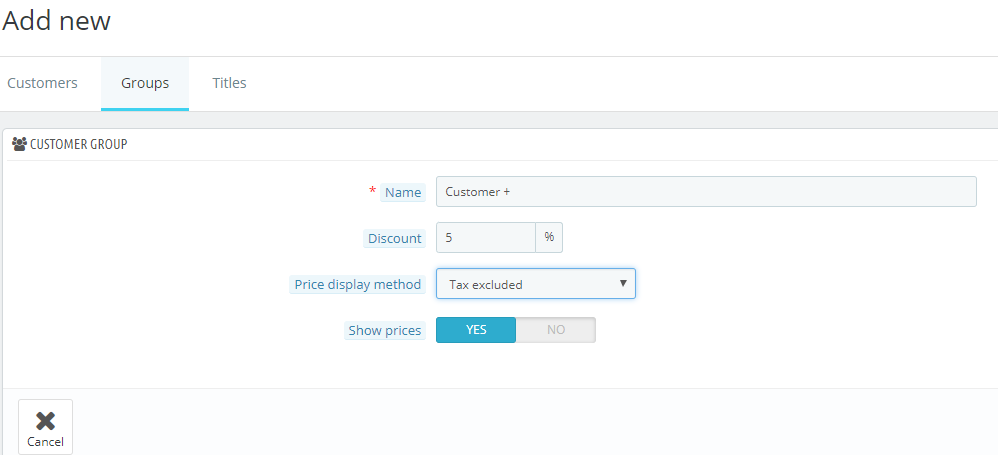
Click Save. The newly created group has been added to the default ones.
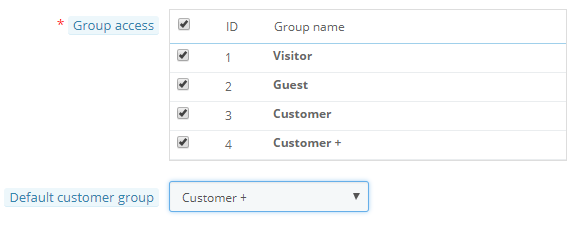
Now you can get back to creating new customer and assign him or her to the group you have created.
Click Save to preserve changes.
How to Set a Discount for a Customer Group in PrestaShop 1.7.5.0
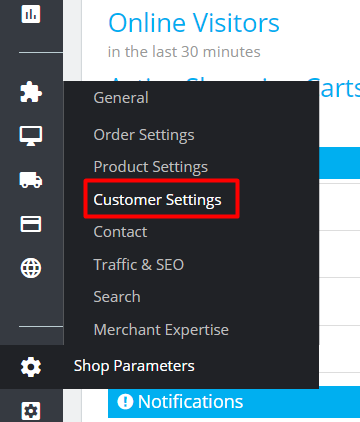
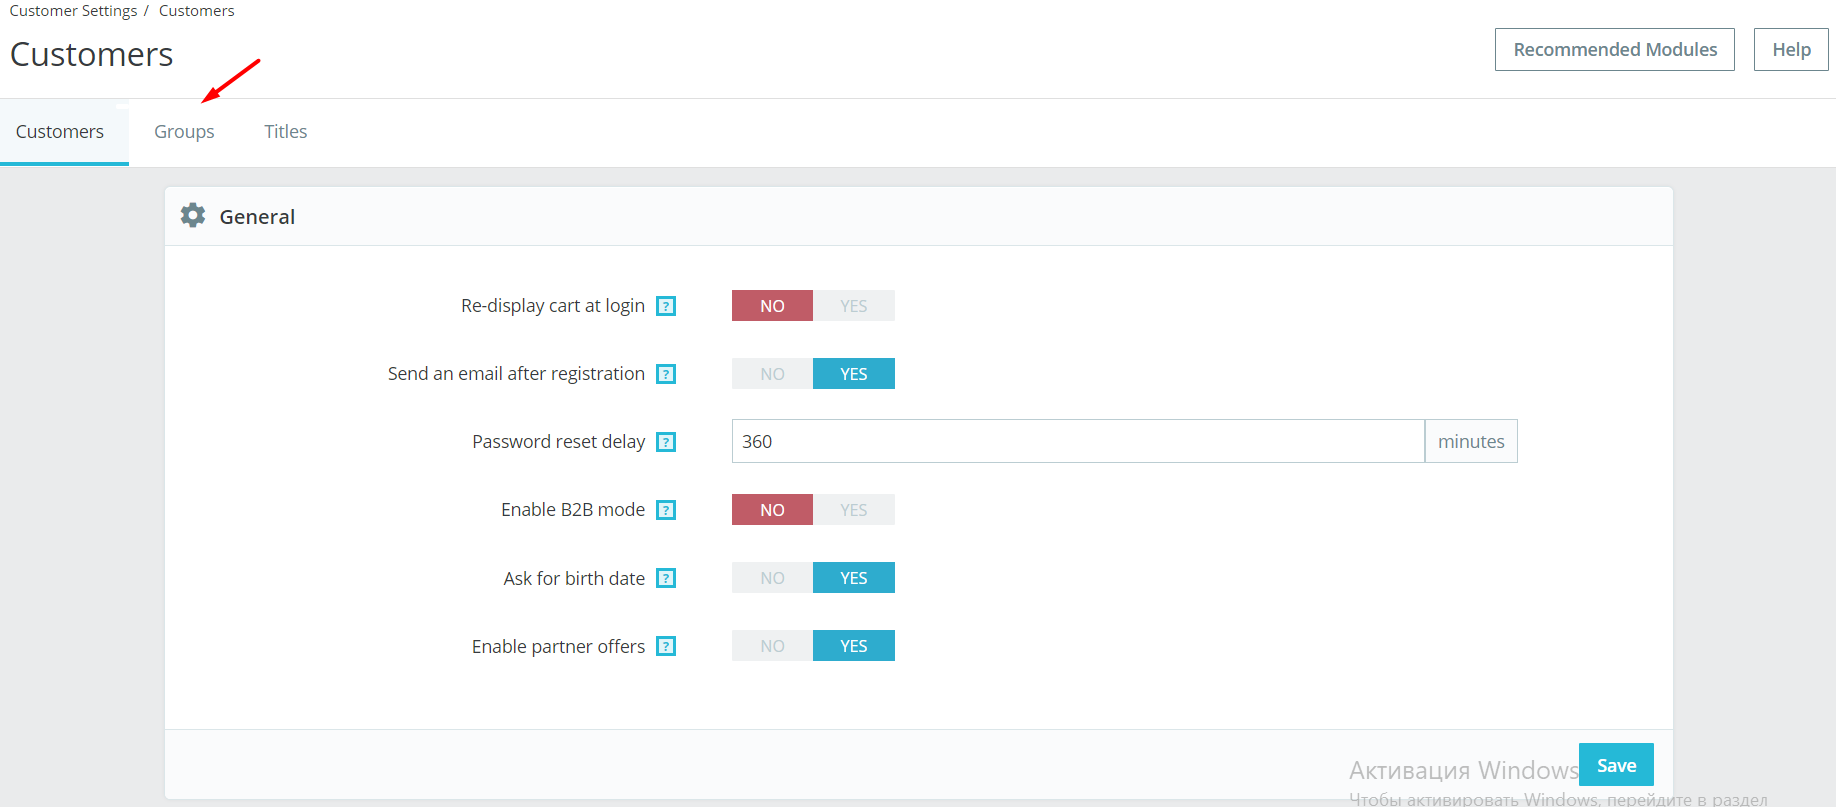
To begin with, go to Shop Parameters tab and click on Customer Settings.
You’ll get to the following page, with 3 tabs on it – Customers, Groups and Titles. You need the second one.
As you can see, PrestaShop 1.7.5.0 offers 3 default customer groups:
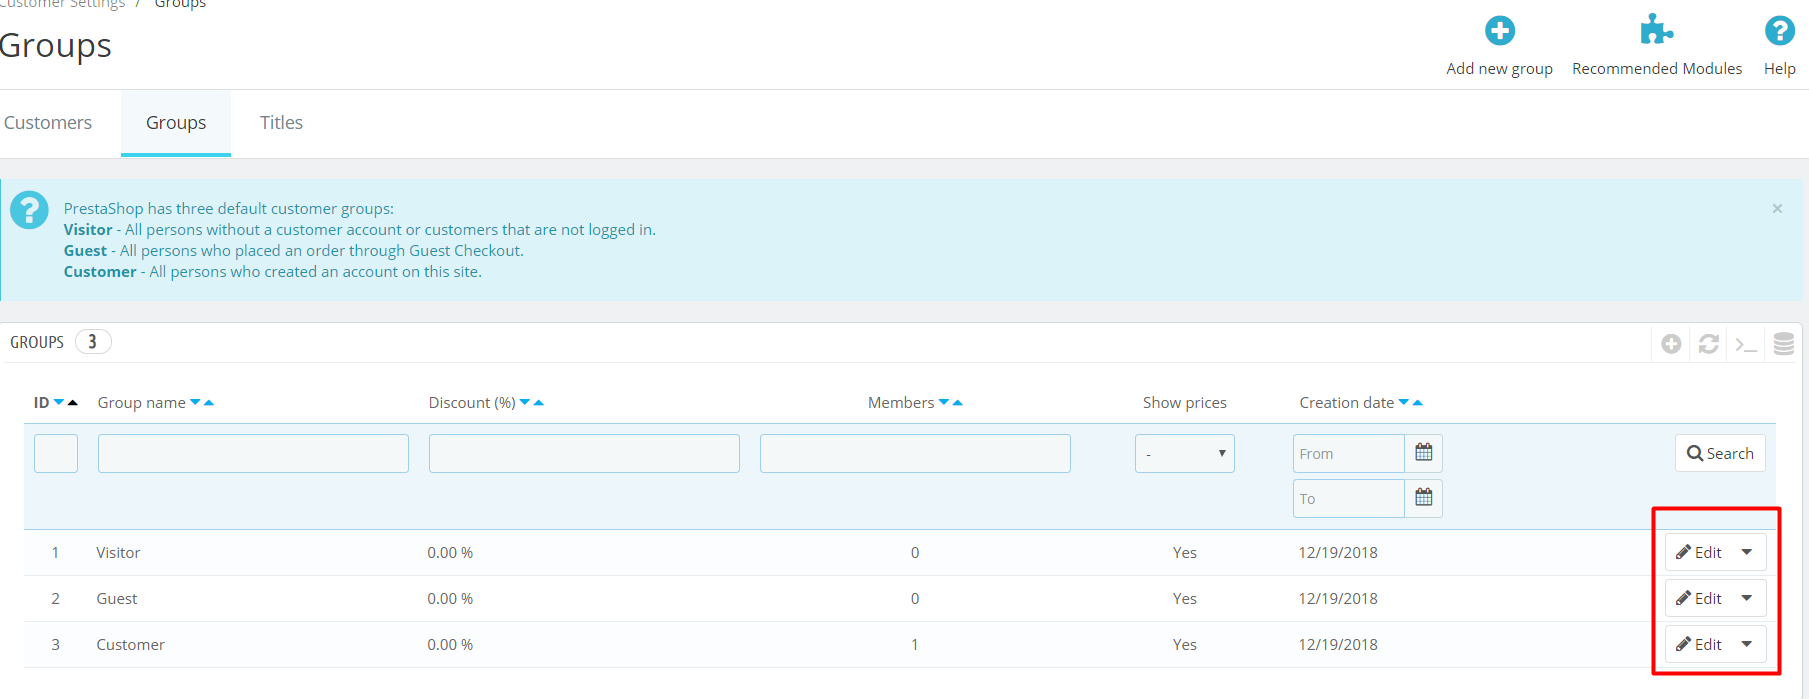
- Visitor – those without a customer account or who didn’t log in.
- Guest – those who ordered through Guest Checkout.
- Customer – those who had created an account in your store.
Choose the group you wish to give a discount to and click edit.
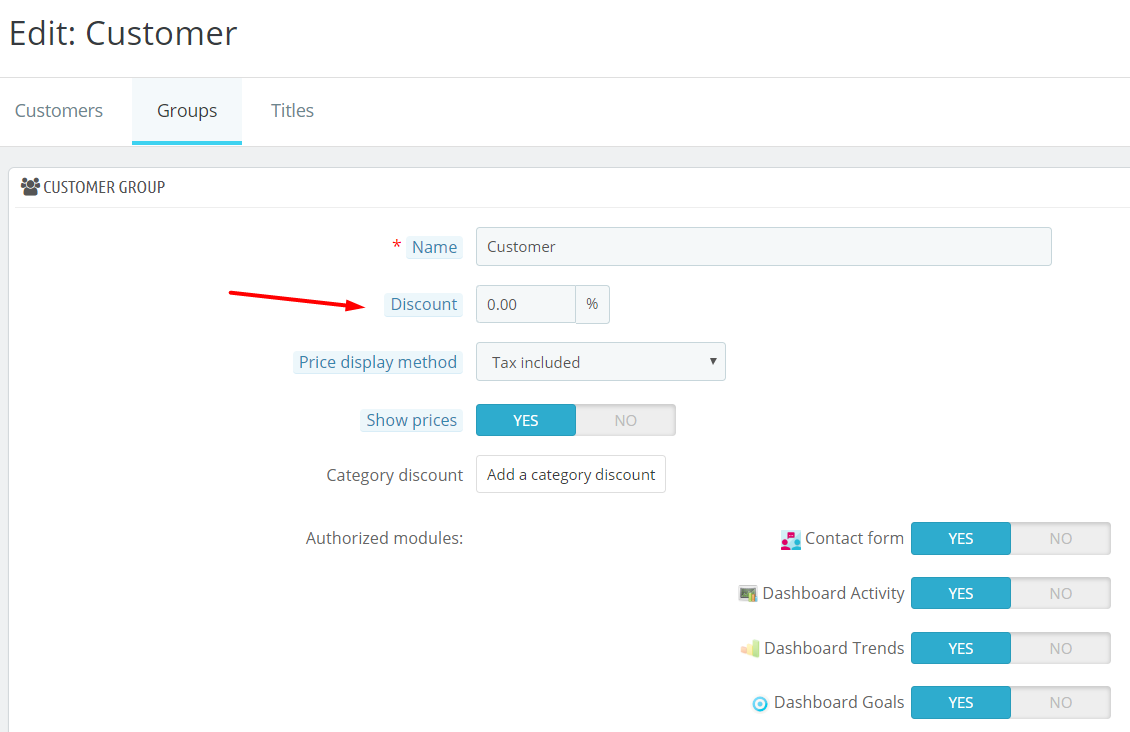
Enter the discount percentage into the Discount field, scroll down and click Save.
How to manage Cart Price Rules in PrestaShop 1.7.5.0
For a customer there’s nothing more pleasant than getting a discount or a special offer, so, as an online merchant, you’ll need to grant discounts from time to time. Fortunately, you can easily manage these aspects in PrestaShop 1.7.5.0 admin panel.
In the Sell section go to Catalog -> Discounts. You’ll see two tabs – Cart Rules and Catalog Price Rules. These are two instruments to grant discounts to your customers, and they both work differently.

Cart Rule means the discount is enabled in the shopping cart, when the customer types in a promo code or a coupon code or reaches a certain price point when he is given a discount. Catalog Price Rules, on the other hand, are discounts visible to every visitor directly in your product catalog.
This way, using only these two core functionalities, you can create a variety of promotion and configuration special offers. I, in my turn, will walk you through the creation of both of them.
Let’s begin with cart rule. We already are at the Cart Rules tab, so just press the Create new cart rule in the upright corner.
In the Information tab you will need to fill in the following fields:
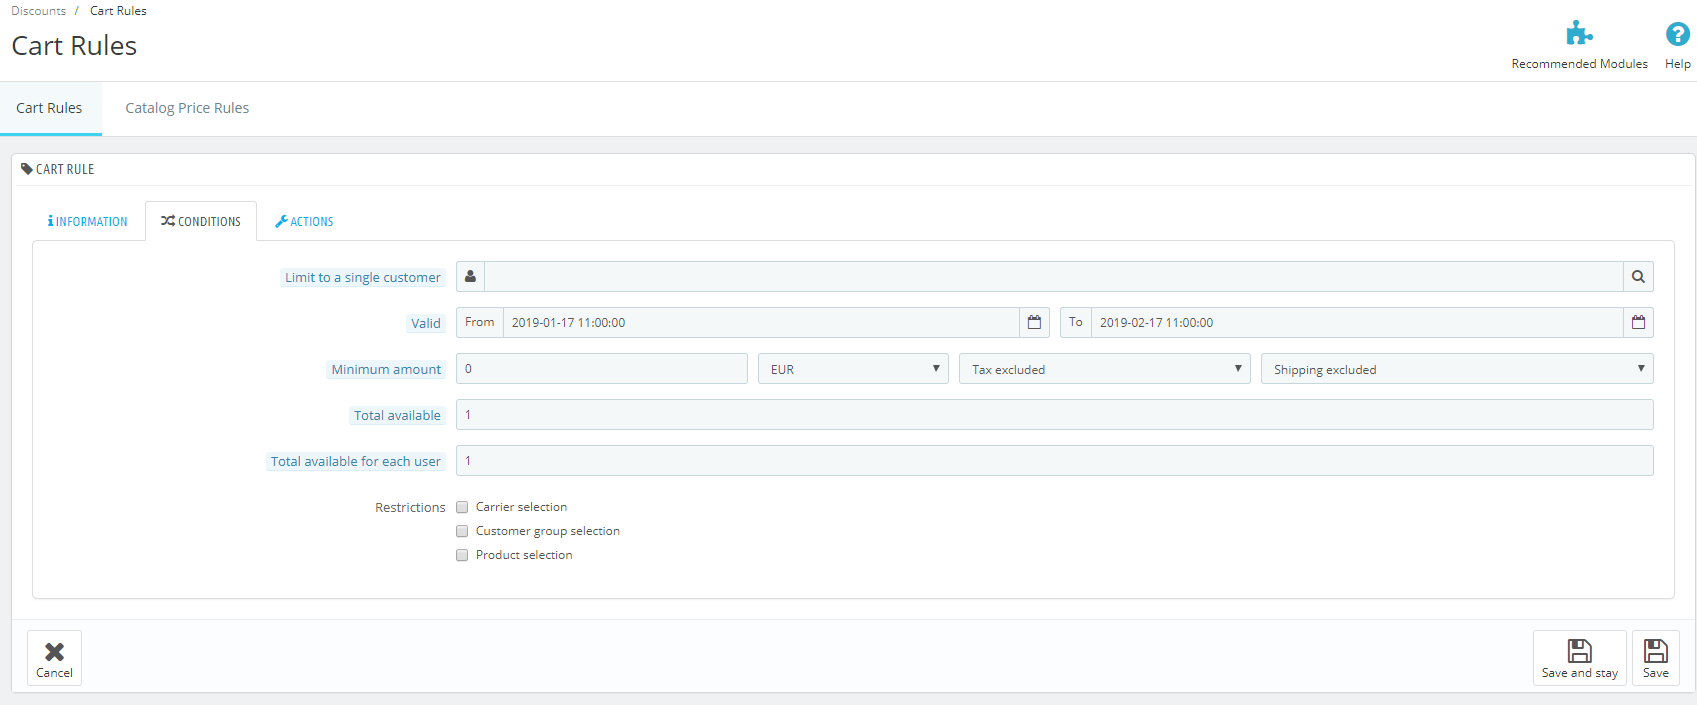
- Limit to a single customer.
- Valid: From – To.
- Minimum amount of the cart, including/excluding taxes and shipment.
- Total available.
- Total available for each user.
- Restrictions: carrier, customer group and product selection.
The third tab is Actions; here you can configure the following:
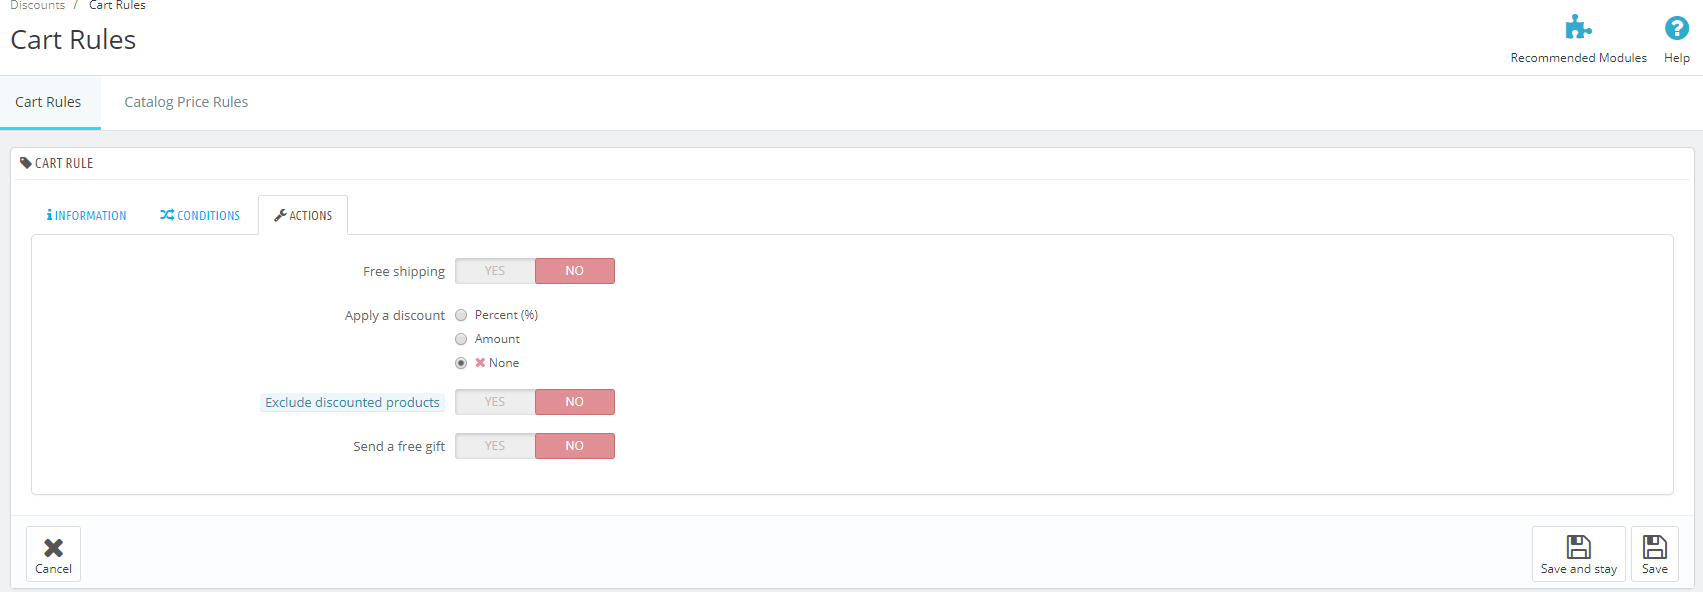
- Name of the attribute, which will be displayed in the cart summary and invoice.
- Description of the attribute displayed in the back office only.
- Code the customer should enter to get a discount. You can choose for it to be automatically generated, or fill it in yourself.
- Highlight, informing the customer that the voucher is not in the cart yet.
- Partial use, in case voucher value is higher than the cart total. If you enable, you allow the creation of a new voucher. Otherwise, the voucher value will be lowered to the total order amount.
- Priority which arranges the cart rule application.
- Status – enabled or disabled.
The next tab is Conditions. Here you set up how, to whom and how long you cart rule will be applied.

- Free shipping.
- Discount: none, calculated by a percent or fixed sum of money.
- Exclude discounted product.
- Send a free gift.
Press Save to preserve the changes.
Now let’s turn to creating a Catalog price rule. Go back to Catalog -> Discounts -> Catalog Price Rules tab. Press Add new catalog price rule button in the upper right corner.

In this menu you have only one tab, where you need to fill in:
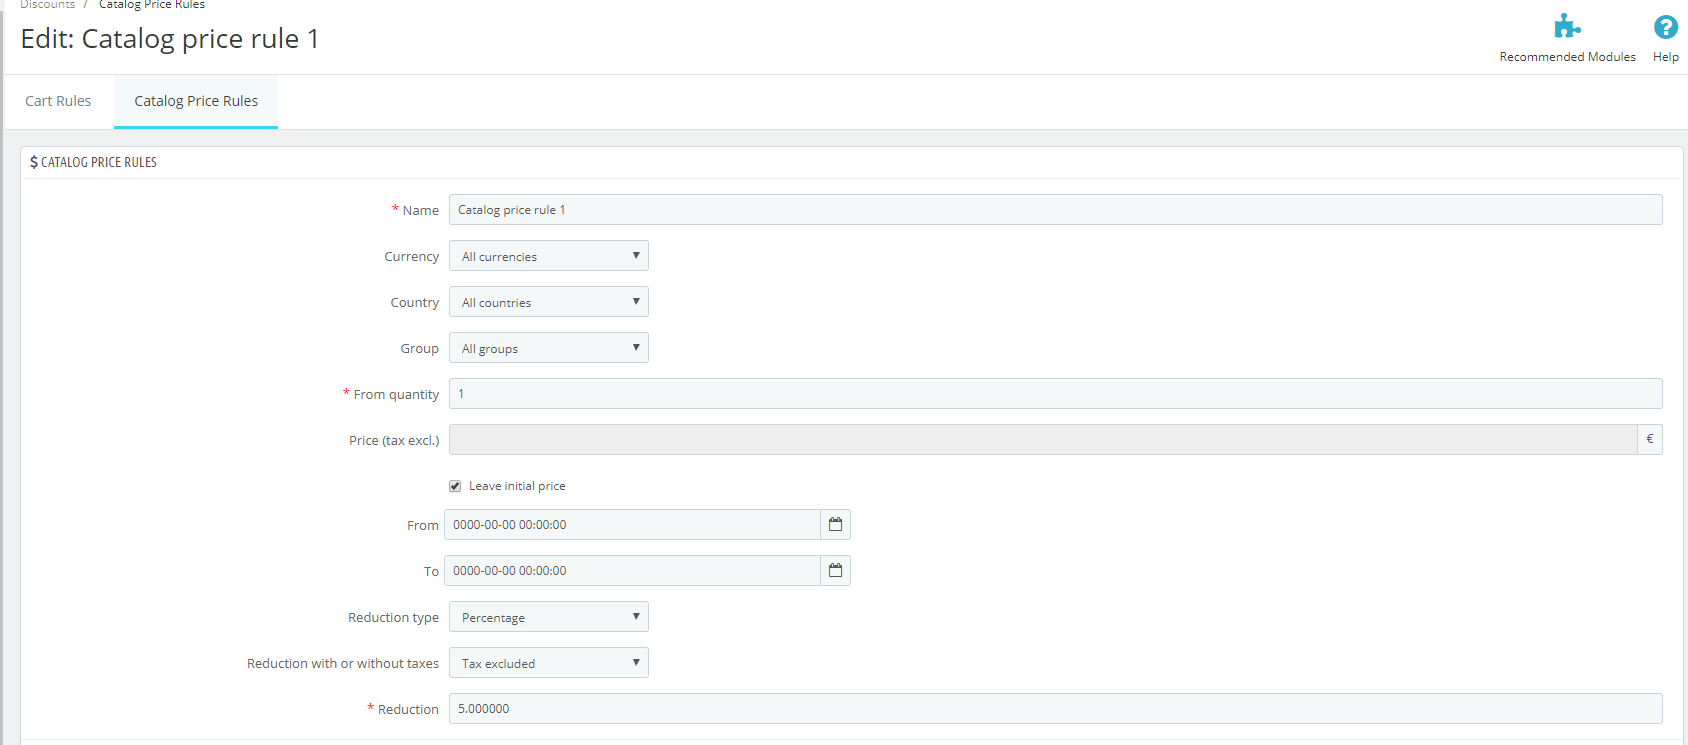
- Name.
- Currency.
- Country.
- Group.
- From quantity.
- Price (without taxes). Untick the Leave initial price to fill in the value yourself.
- From – To.
- Reduction type (amount or percentage).
- Reduction with or without taxes.
- Reduction value.
Click Save and return to the previous menu. The newly created catalog price rule will appear in the list.

Go to customer view mode to see the result of your changes.


